Look closely before choosing a fix
A mark on wood furniture may be in the protective finish, in the wood beneath it, or on the surface as dirt or residue. Those differences matter. A faint scuff that disappears when viewed from another angle may need only cleaning. A scratch that catches a fingernail has probably cut into the finish. A gouge that exposes pale wood, a lifting veneer edge, or a dark stain calls for more caution.
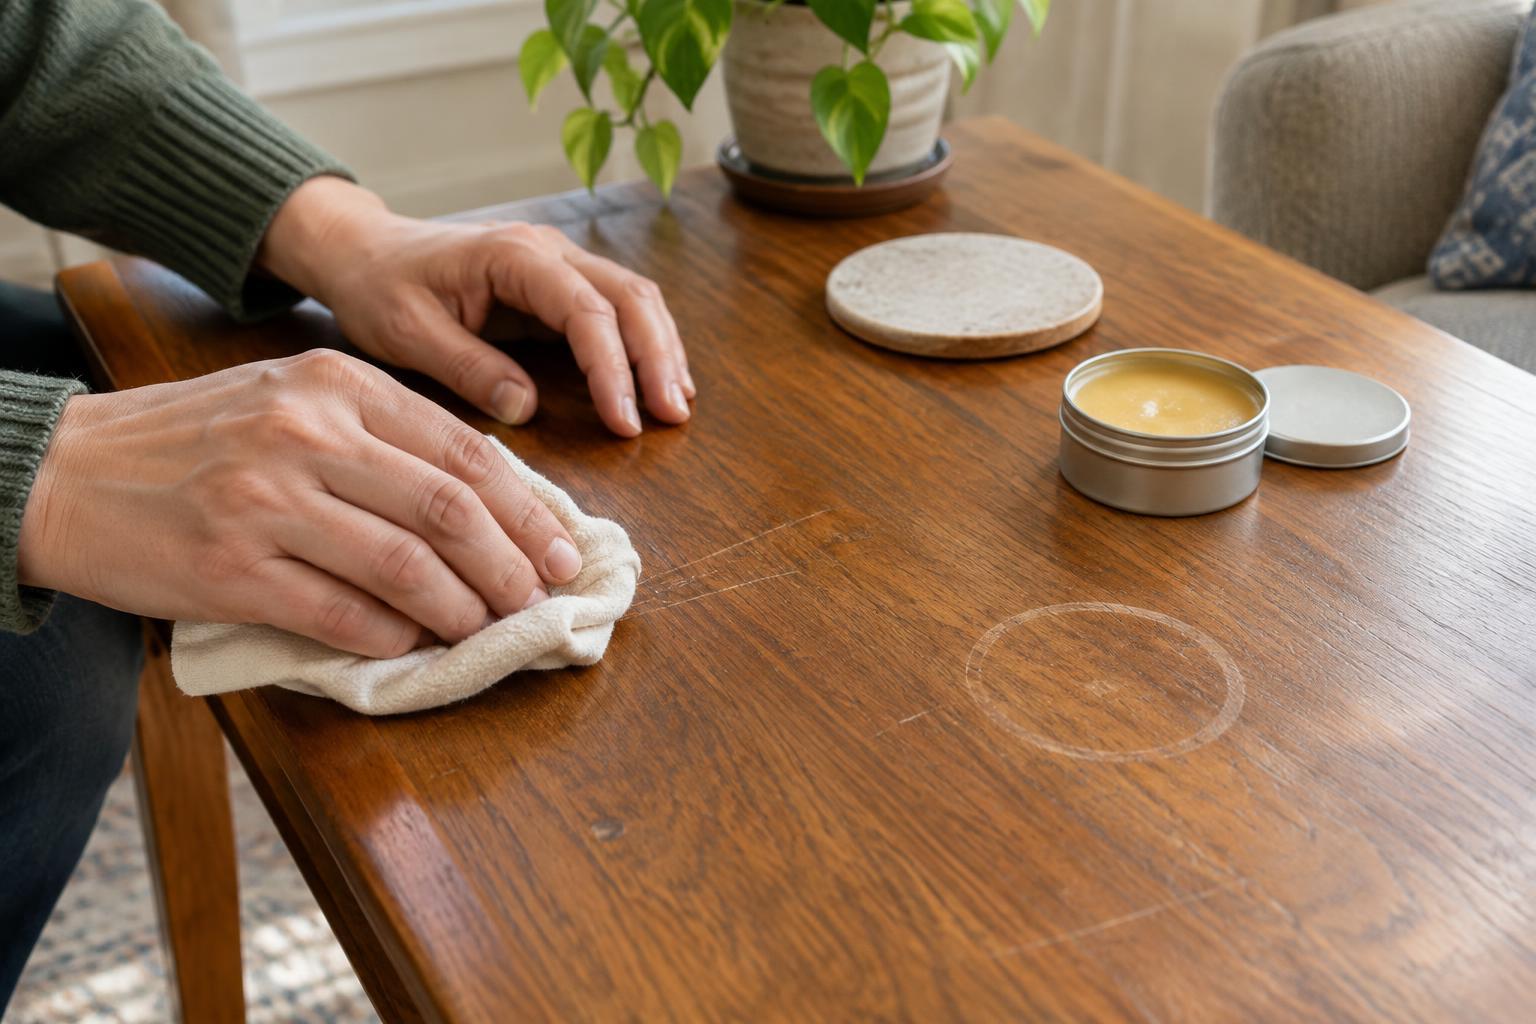
Water rings also vary. A pale, cloudy ring often indicates moisture trapped in or beneath a finish; a dark ring may indicate that water reached the wood. Neither appearance guarantees an easy home repair. If you know the piece has a delicate, old or unusual finish—or you are unsure what it is—avoid experimenting with heat, solvents or abrasive products. The goal is to improve the mark without turning a small problem into a larger refinishing project.
Clean gently, then give the surface time
Begin with a clean, soft cloth and remove loose dust. If a mark remains, wipe a small area with a cloth barely dampened with water and a little mild dish soap, then wipe away any soap with another barely damp cloth and dry the surface promptly. Test this approach somewhere inconspicuous first. Do not soak joints, exposed wood or veneer edges; excess water can make damage worse.
For a fresh water ring, removing the source of moisture and allowing the piece to dry in a well-ventilated room may be the most useful first step. Recheck it later rather than repeatedly rubbing it. Skip common shortcuts such as toothpaste or abrasive powders: they can scratch or dull a finish. Oils may temporarily hide a mark without repairing it and can leave residue that complicates later work.
Try a restrained touch-up for minor scratches
Once the surface is clean and dry, check whether a scratch is mostly a change in sheen or an exposed line of lighter wood. For a small, shallow scratch on a sound finish, a furniture touch-up wax or marker made for finished wood may make it less noticeable. Choose a close color, test it in a hidden spot and apply sparingly, following the product directions. Remove excess from the surrounding finish so the repair does not become a dark stripe.
A touch-up disguises a scratch; it does not rebuild a deep cut or restore a damaged protective coating. Avoid sanding an isolated mark without a broader plan, especially on veneer, which can be thin. Likewise, do not add a new clear coat over a dirty, waxy or unknown finish. If the surface is peeling, sticky or widely worn, a spot treatment may make the overall appearance less even.
Treat water rings with extra patience
If a pale ring remains after the surface has had time to dry, the next step depends on the finish. Some finishes respond to specialized products, but a product suited to one coating can damage another. Read the label, test in an unobtrusive area and stop if the finish softens, changes color or becomes tacky. Household heat methods, including irons and hair dryers, carry a risk of blistering or loosening finishes and veneer, particularly when the construction is unknown.
A dark ring, swollen wood, bubbling finish or loose veneer is a reason to pause rather than scrub harder. These signs can point to damage below the surface. A furniture repairer may be able to assess whether a localized repair is practical or whether the surrounding area needs more extensive work. For a valued or antique piece, that assessment is often a better first move than a home experiment.
Make the next repair less likely
Once the piece is dry and usable, prevention is simpler than another repair. Keep coasters near places where drinks are set down, use trivets under hot dishes and wipe spills promptly with a soft cloth. Put felt pads under objects that are moved often, and lift those objects rather than dragging them. Check plants and vases for condensation or leaks before placing them directly on wood.
A visible repair need not be perfect to be worthwhile. If a small mark no longer catches your eye or threatens the surface, keeping a sturdy table or dresser in use can be a sensible choice. Start with the least invasive step, observe the result and stop when the risk of further work outweighs the likely improvement.