Gather what you need
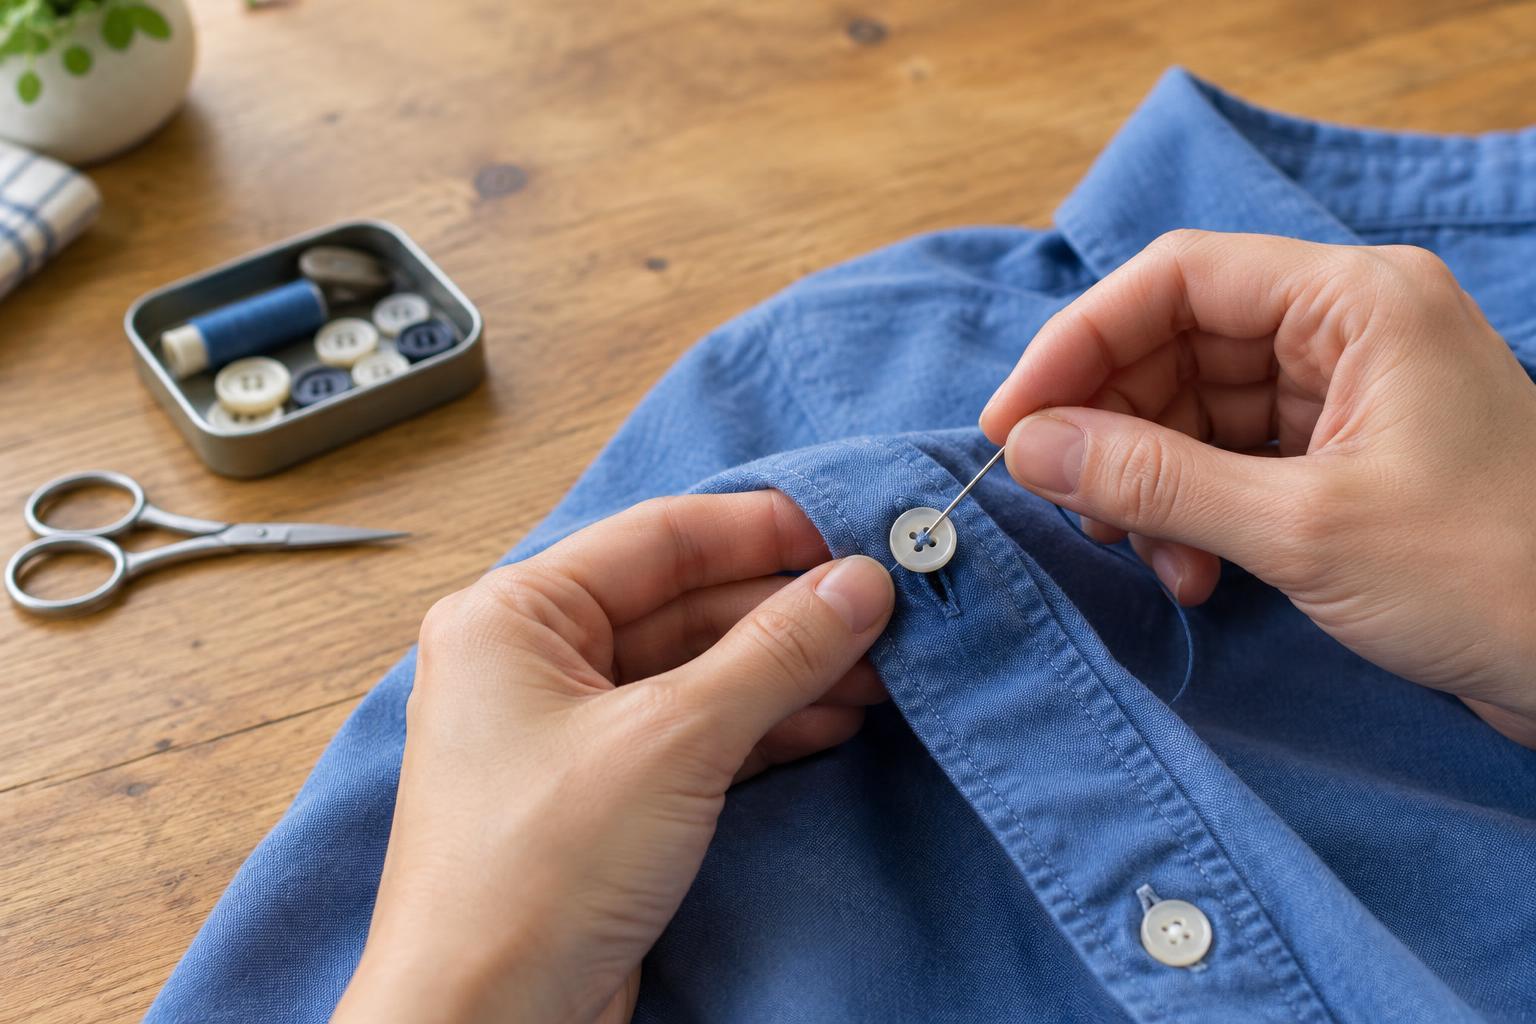
You need a hand-sewing needle, thread, scissors and the button. Choose thread close to the garment’s color. Ordinary sewing thread works for many shirts and lightweight garments; a heavier garment or large button may benefit from stronger thread. If the button has fallen off, check a spare-button packet or an inside seam before looking for a replacement.
Look at the button and fabric before you start. A flat button has two or four holes, while a shank button has a loop on the back. The loop gives the fabric room to sit beneath the button, so a shank button needs a slightly different sewing motion. If the fabric around the old stitches is torn or thin, repair or reinforce that area first. Sewing through damaged fabric alone may not hold for long.
Find the right position
If the button is still attached by a few threads, note where it sits before removing the loose threads. Otherwise, use the old stitch holes as a guide. You can also close the garment, line up its edges and mark the point beneath the matching buttonhole with a washable fabric marker. Check the position before sewing: even a securely attached button will be frustrating to use if it pulls the opening out of line.
Cut a manageable length of thread, roughly the distance from your fingertips to your elbow, and thread the needle. Bring the ends together and knot them for a doubled thread. Starting from the wrong side of the fabric, take one small stitch through the attachment point. This anchors the thread and leaves the knot hidden inside the garment.
Stitch without pulling the button flat
For a flat button, bring the needle up through the fabric and one buttonhole, then down through another hole and the fabric. Repeat several times. On a four-hole button, follow the pattern used by the other buttons if you want a consistent look: stitches can run in parallel lines or cross in an X. Keep each pass snug, but do not pull the button hard against the fabric.
The button needs a little space so the buttonhole can slip underneath it. For a shirt, you can lay a toothpick or matchstick across the top of the button while you sew over it, then remove it when the stitches are complete. A thicker coat may need more space than a thin shirt. If you are unsure, stop after a few passes and try the buttonhole before adding more stitches.
For a shank button, sew through the loop on its back rather than through the button itself. Pass the needle through the fabric and loop several times, keeping the button in position. For a large button on a heavy garment, check whether there was a small backing button on the inside; if so, stitch through it as you reattach the outer button to help spread the strain.
Secure the thread and test the repair
Once a flat button has enough stitches, bring the needle up through the fabric but not through a buttonhole. Remove the spacer if you used one. Wrap the thread around the stitches beneath the button a few times to form a short stem, then take the needle to the wrong side of the fabric. This wrapped stem helps preserve the space you left for the buttonhole.
On the wrong side, take a small stitch through the fabric without coming through to the front. Pass the needle through the resulting loop to make a knot, and repeat once. Trim the thread, leaving a short tail rather than cutting flush against the knot. For a shank button, skip the wrapped stem and secure the thread on the wrong side in the same way.
Button and unbutton the garment a few times. The button should sit in line with the buttonhole, move enough to fasten comfortably and stay firm when gently tugged. If it is crooked or too tight, it is better to redo a few stitches now than to put strain on the fabric every time you wear it.
Make the next repair easier
Before putting the needle away, check the neighboring buttons for loose threads. A few minutes of repair can keep a wearable garment in use and spare you the search for a lost button later. Store spare buttons in a small labeled envelope or tin so they are easy to find when needed.