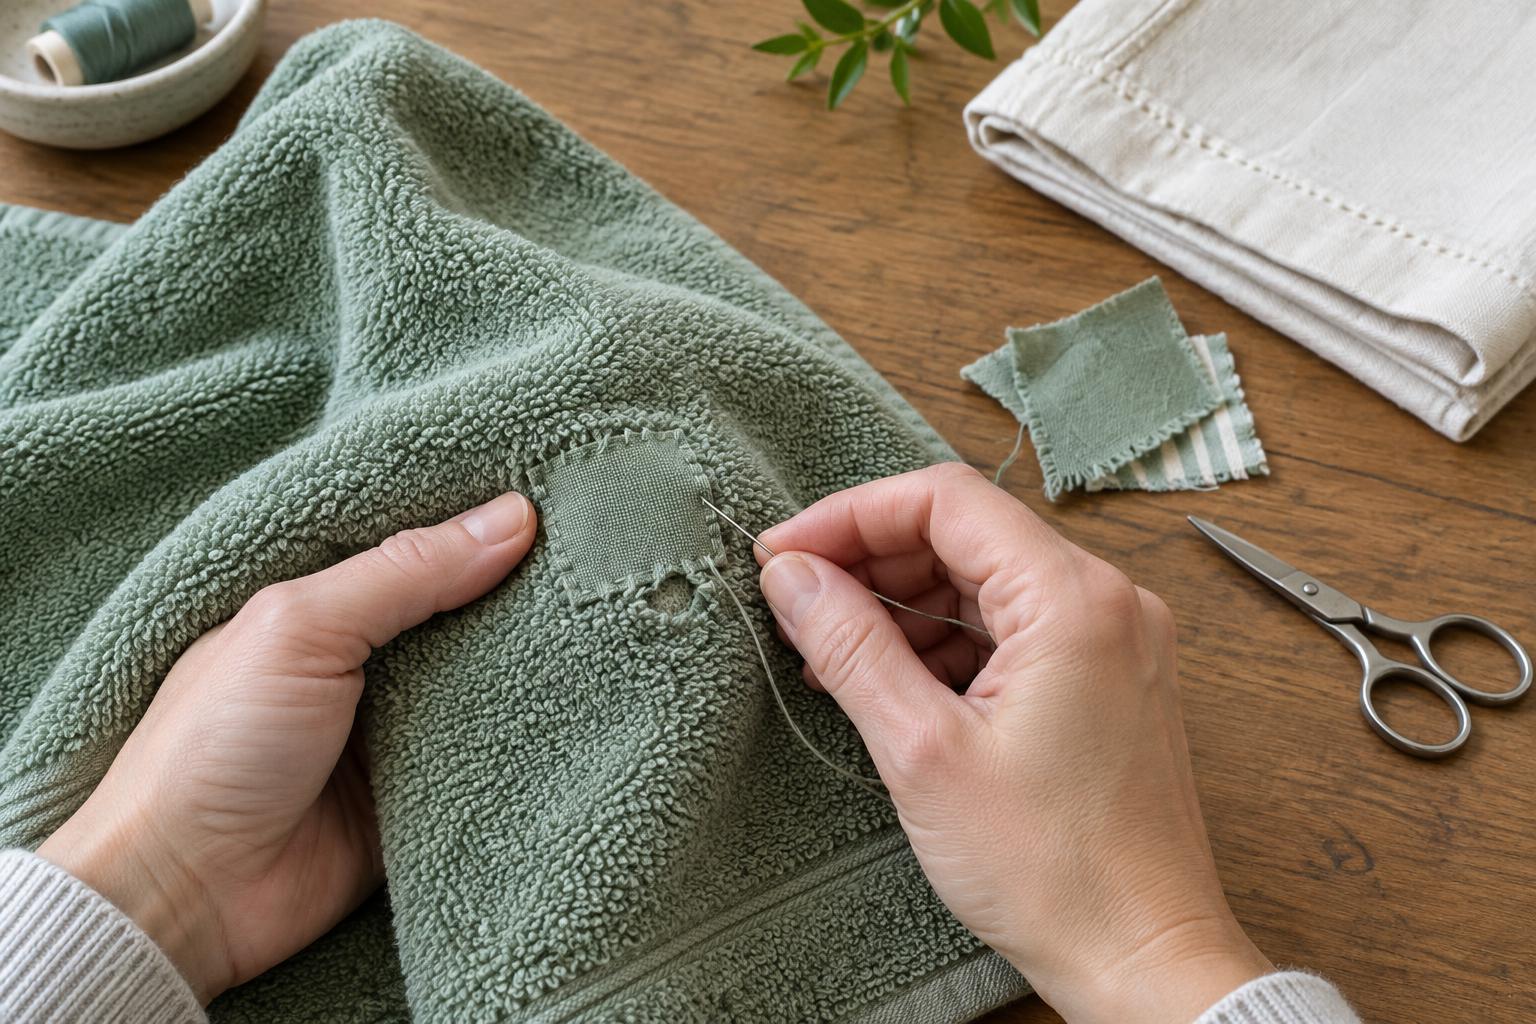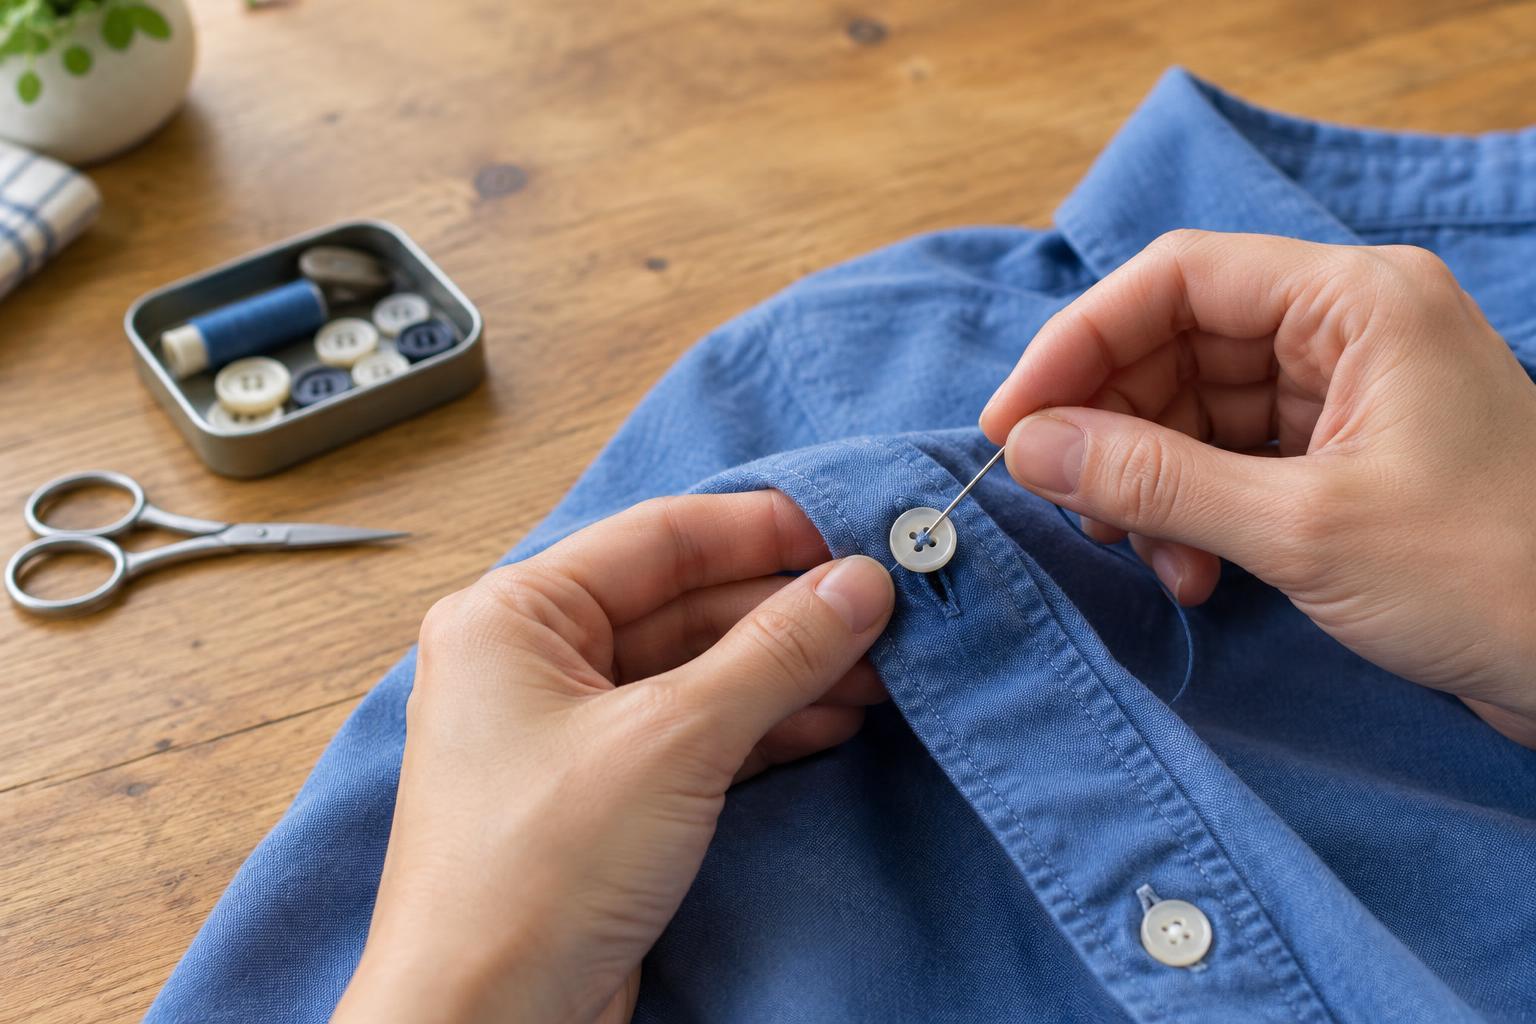
Check what has come apart
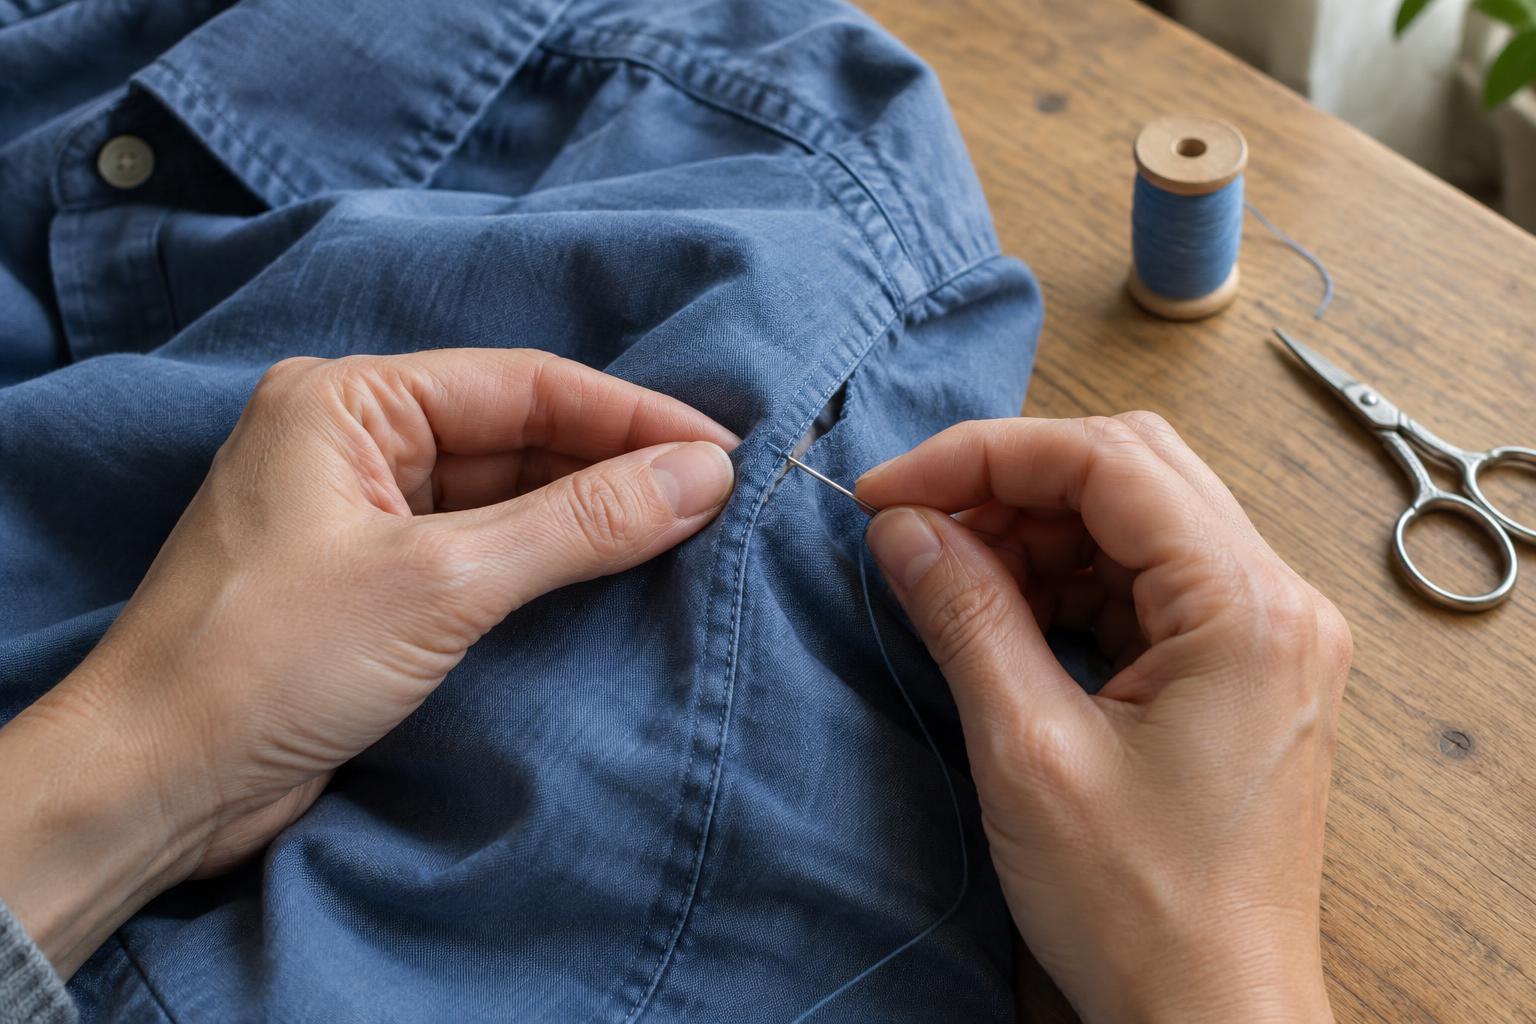
A split seam happens when the stitches joining two pieces of fabric break or pull loose. If the fabric on both sides is still sound, you can often close the gap by sewing along the original seam line. Turn the garment inside out and look closely before you begin. Gently pull the pieces apart just enough to see where the stitching is intact and where it has failed.
Check the fabric beside the opening, especially on a seam that takes a lot of strain, such as a trouser seat or an underarm. If the cloth is thin, frayed or torn away from the stitch line, simply closing the seam may not hold. It may need a patch or another form of reinforcement. Also look for a lining, pocket or folded edge that could be caught accidentally in your new stitches.
Gather a few basic supplies
You need a hand-sewing needle, thread, scissors and a couple of pins or clips. Choose thread close to the garment’s color so any visible stitches blend in. A general-purpose sewing thread works for many everyday garments; use a needle that passes through the fabric without forcing a large hole. A thimble can help if the layers are thick.
Trim only the loose thread ends that get in your way. Avoid cutting sound stitches or frayed fabric until you understand how the seam is constructed. Cut a manageable length of thread, thread the needle and knot one end. Working with a shorter length makes tangles less likely and gives you more control.
Line up the original seam
Keep the garment inside out. Bring the two fabric edges together as they sat before the seam opened, using the surviving stitches on either side as your guide. Match any stripes, checks or intersecting seams before pinning. If the edges have rolled or shifted, smooth them flat rather than pulling them tightly together. The aim is to restore the original shape, not make the garment smaller.
Pin or clip the layers in place, keeping a lining or pocket clear. Look for the original line of needle holes or stitching and plan to follow it. Begin a short distance before the opening, where the old seam is still secure, and finish a short distance beyond it. That overlap helps keep the ends of the repair from opening again.
Sew the opening with a backstitch
A backstitch makes a strong hand-sewn seam on many woven fabrics. Bring the needle up through both layers on the original seam line, starting in the intact part of the seam. Make a small stitch backward toward the end you started from. Then bring the needle up again a stitch length ahead of the point where it first emerged. Repeat: insert the needle back at the end of the previous stitch, then bring it up farther along the seam. On the outside, the stitches should meet with little or no gap.
Keep the stitches small and fairly even, but do not pull the thread so hard that the fabric puckers. Pause now and then to smooth the layers and check that you have not caught another part of the garment. Once you have sewn beyond the split, make a couple of small securing stitches on the inside and tie off the thread in the seam allowance. Trim the excess thread without cutting the knot.
Check the repair before wearing
Turn the garment right side out and gently ease the repaired area into shape. The seam should lie flat, with no gap or gathered ridge. If it puckers, the thread may be too tight; if the layers shift or the seam gapes, a section may need to be sewn again. It is easier to correct that now than after the garment has been worn.
A stretchy knit needs more give than a firm woven seam. A tight row of backstitches may break when the fabric stretches, so use a hand stitch that can move slightly with the fabric, or choose another repair method if the area is under repeated strain. For any garment, check the seam after a wear or wash. Catching a few loosening stitches early is usually simpler than mending a longer split later.