Start with the item, not the symptom
Before searching for a fix, record exactly what you own. A useful repair note includes the brand, model number, serial number if present, and a short description of the problem. Add clear photos of the whole item, its label, the damaged area, and any part you can remove safely. These details help distinguish products that look alike but use different components.
Look for a model label on the back or underside of an appliance, inside a door or battery compartment, or near a power connection. On furniture and other household goods, it may be under a seat, inside a drawer, or on a care tag. A retail name on the packaging is not always the model number. Copy letters, numbers, hyphens, and suffixes carefully; one changed character may point to a different version. If a label is worn, check the receipt, original box, order history, or photos you took when the item was new.
Find instructions you can match to your model
Search using the brand and complete model number alongside terms such as “manual,” “parts list,” or “assembly instructions.” Start with the maker’s support pages when available, then check documentation supplied by the retailer or with the product. If the exact manual is missing, a manual for a related model may help you understand the layout, but do not assume its part numbers or disassembly steps are identical.
Read the sections on troubleshooting, cleaning, and routine maintenance before ordering anything. A loose connection, blocked filter, or incorrectly seated component may explain a problem without requiring a new part. An exploded diagram can be especially helpful: it shows how pieces fit together and may give each one a specific name or part number. Save a copy of the instructions you use, along with your repair notes, so you do not have to reconstruct the search later.
Check compatibility from more than one angle
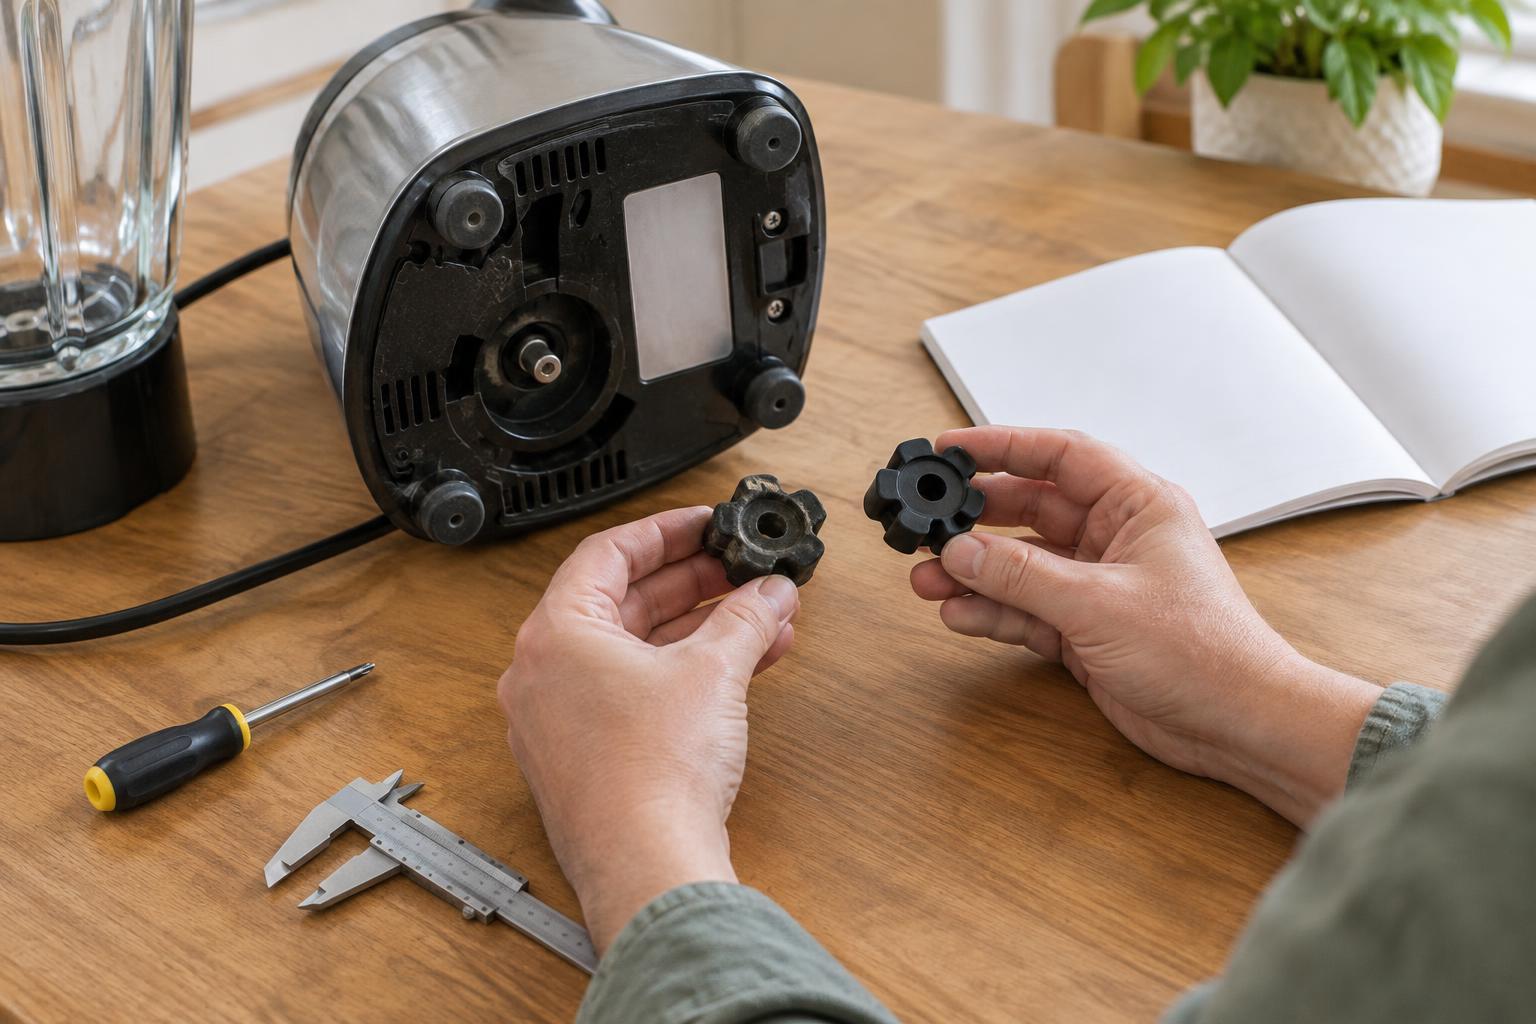
A part that looks right in a listing photo may still have the wrong size, connector, mounting holes, or electrical rating. First compare its listed part number with the number in your manual or on the original component. Then check the seller’s model-compatibility list, dimensions, shape, material, and connection details. If the listing says it replaces an older part number, confirm that the replacement applies to your specific model or version.
When information conflicts, pause rather than guessing. Product revisions can change internal parts without changing an item’s appearance. Ask the manufacturer or seller to confirm compatibility, supplying the full model number and a photo of the existing part where appropriate. Keep in mind that “universal” may mean adjustable, not guaranteed to fit. For a secondhand or salvaged part, inspect its condition and check that its identifying marks match what you need.
Choose a sensible repair path
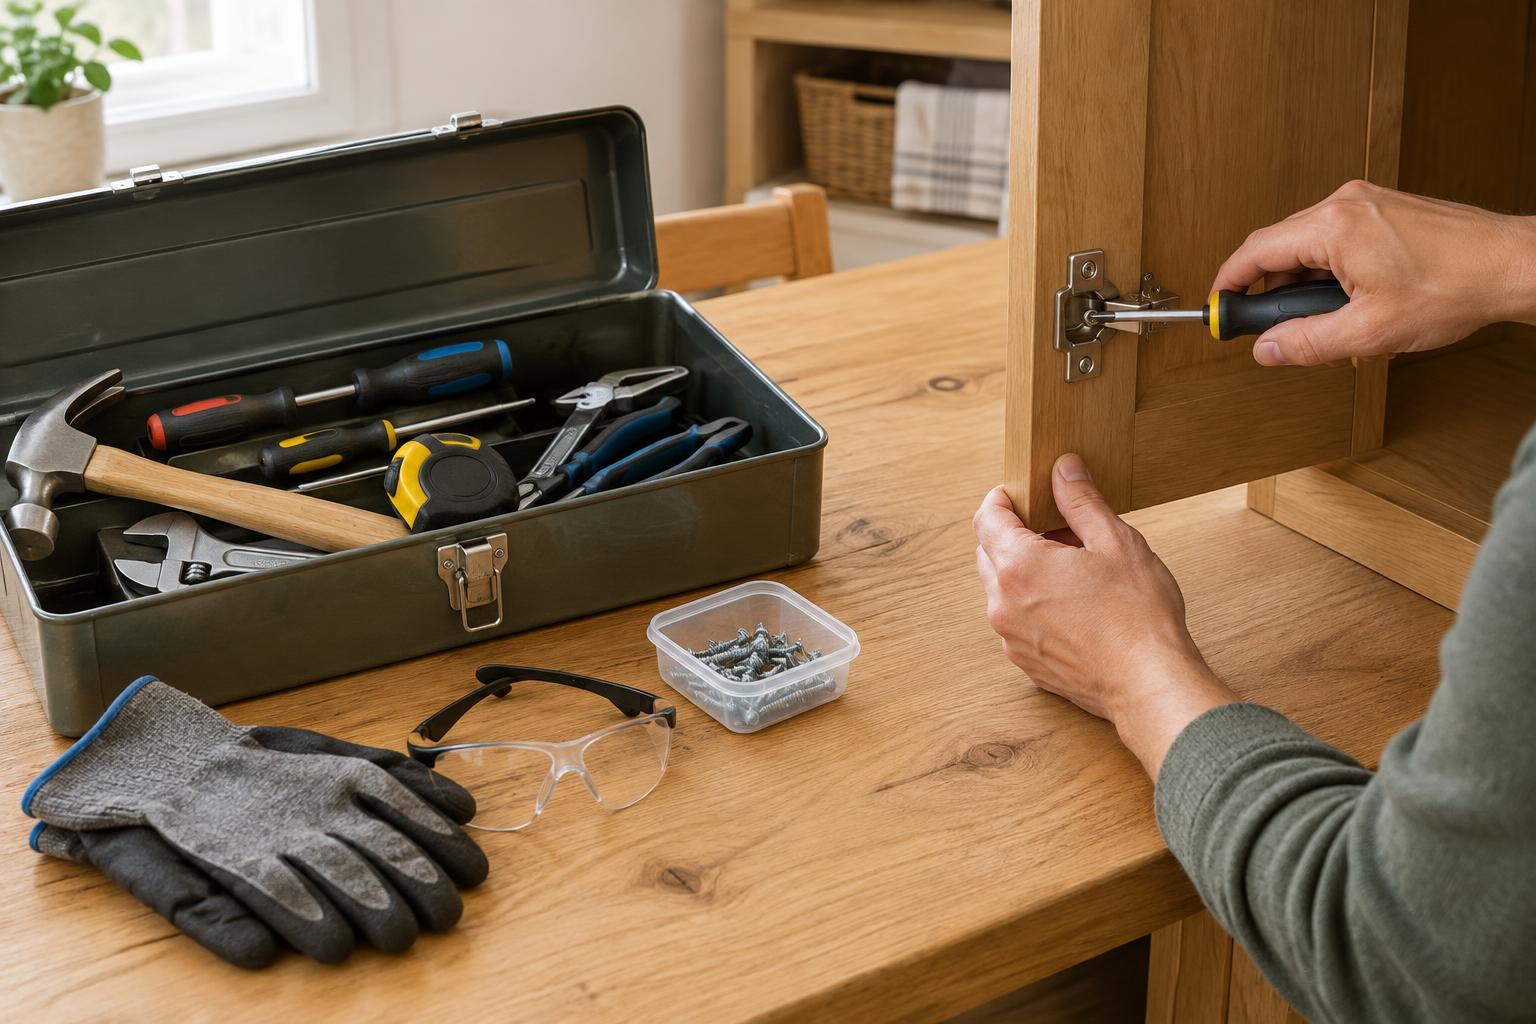
Before buying, compare the likely repair effort with the value of keeping the item in use. Include any tools, consumables, shipping, and the chance that the first suspected part is not the cause. A small, accessible component may be a reasonable do-it-yourself project; a sealed, damaged, or safety-critical assembly may not be. Check the item’s warranty terms before opening it, because disassembly or unauthorized work may affect coverage.
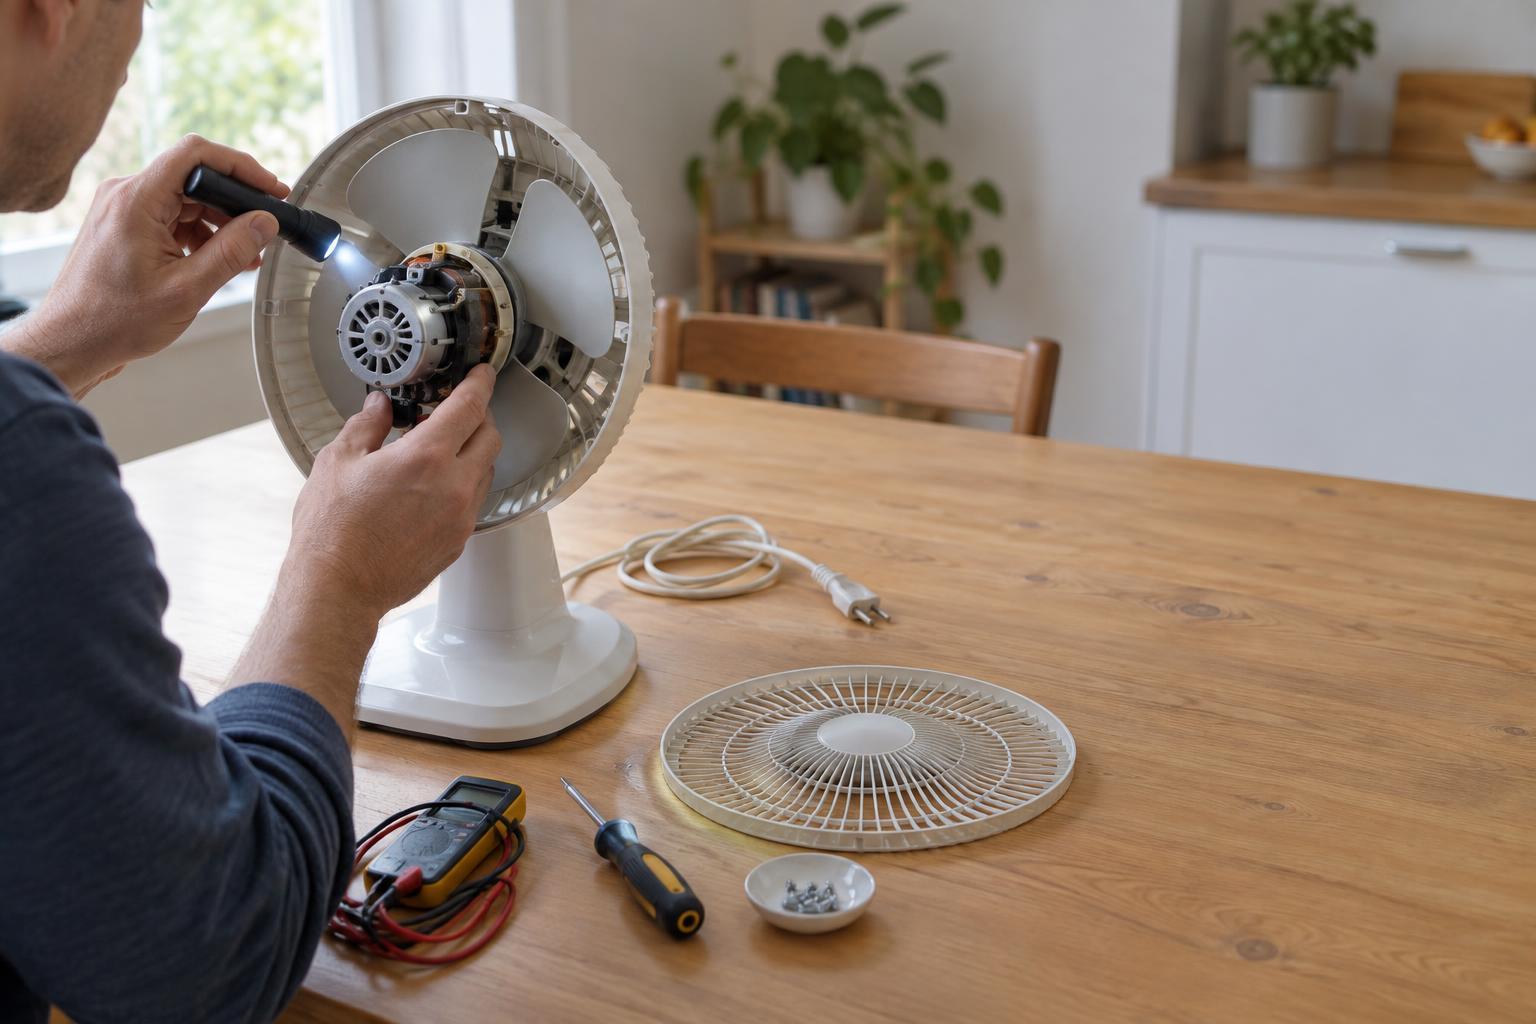
Work within your skills and the instructions for the product. Unplug electrical items before inspection, and do not attempt work involving exposed wiring, stored electrical charge, gas connections, or other hazards you cannot assess. If diagnosis is uncertain, a repair shop may be able to identify the fault before you order a part. That can prevent an unnecessary purchase as well as a frustrating repair.
Make the next repair easier
Once you have found the right information, keep it with the item’s records: the model number, a link or saved copy of the manual, the confirmed part number, and notes on what you changed. Label any leftover screws or components during the repair, and take photos before each stage of disassembly so you can retrace your steps. Test the item according to its instructions before putting tools away.
Even when a repair does not work out, the search can inform what you buy next. Accessible labels, available manuals, replaceable components, and straightforward disassembly make future upkeep less of a guessing game. For an item you already own, careful identification is the best starting point: it helps you avoid incompatible parts and gives a useful object a fair chance at a longer life.