Start with the job, not the glue
A tube marked “all-purpose” is tempting, but a successful repair depends on more than the material named on its label. Look at how the broken parts fit together. Do they meet cleanly, or is there a gap? Will the joint bear weight, flex, get wet, or sit near heat? A glue that holds a decorative chip may fail on a handle that is pulled every day.
Before buying anything, check the adhesives you already have and read their labels for compatible materials, application steps, and curing times. Test-fit the pieces without glue. If they cannot be held in the right position while the adhesive cures, plan for tape, clamps, or another support. For a joint that protects someone from injury, such as a ladder rung or a load-bearing chair part, glue alone may not be a suitable repair.
Wood: close-fitting joints favor wood glue
For clean, unfinished wood that fits together closely, ordinary wood glue is often the simplest choice. It bonds well when the surfaces make good contact and are held firmly in place as it dries. Remove dust and loose fibers first, then apply a thin, even layer. Clamping pressure should bring the pieces together without forcing out nearly all the glue.
Paint, varnish, and wax can keep wood glue from reaching the wood. Where practical, remove the finish from the bonding surfaces without damaging the fit. If wood is missing or a joint has significant gaps, a product intended to fill gaps, such as a suitable epoxy, may be more useful than standard wood glue. For outdoor or frequently damp items, check the product’s water-resistance rating rather than assuming any wood glue will hold up.
Plastic: identify what you can before bonding
Plastic is a broad category, and the wrong adhesive may peel away even when the repair looks sound at first. If the item has a recycling mark or material label, use it to narrow your choice. Some rigid plastics can be joined with a plastic-specific adhesive or solvent cement designed for that exact material; others respond better to an epoxy or cyanoacrylate, commonly called super glue. Follow the product’s compatibility list rather than relying on a general claim that it bonds plastic.
Polyethylene and polypropylene, often marked PE and PP, are particularly difficult to bond with common household glues. Flexible plastics also put repeated strain on a rigid glue line. If an adhesive explicitly requires a primer for the plastic you have, use the matched system. Otherwise, a mechanical fix such as a replacement fastener or part may last longer. Try an adhesive on an inconspicuous area first if appearance matters, since some products can cloud or damage a surface.
Metal and ceramic: consider fit, finish, and use
For a small metal object with clean, well-fitting pieces, cyanoacrylate may be convenient. A two-part epoxy can be a better candidate when the joint has a slight gap or needs more working time. Remove grease, dirt, rust, and loose coatings before bonding; lightly roughening a smooth bonding surface may help if the adhesive instructions recommend it. Neither choice automatically makes a stressed metal part safe to use again.
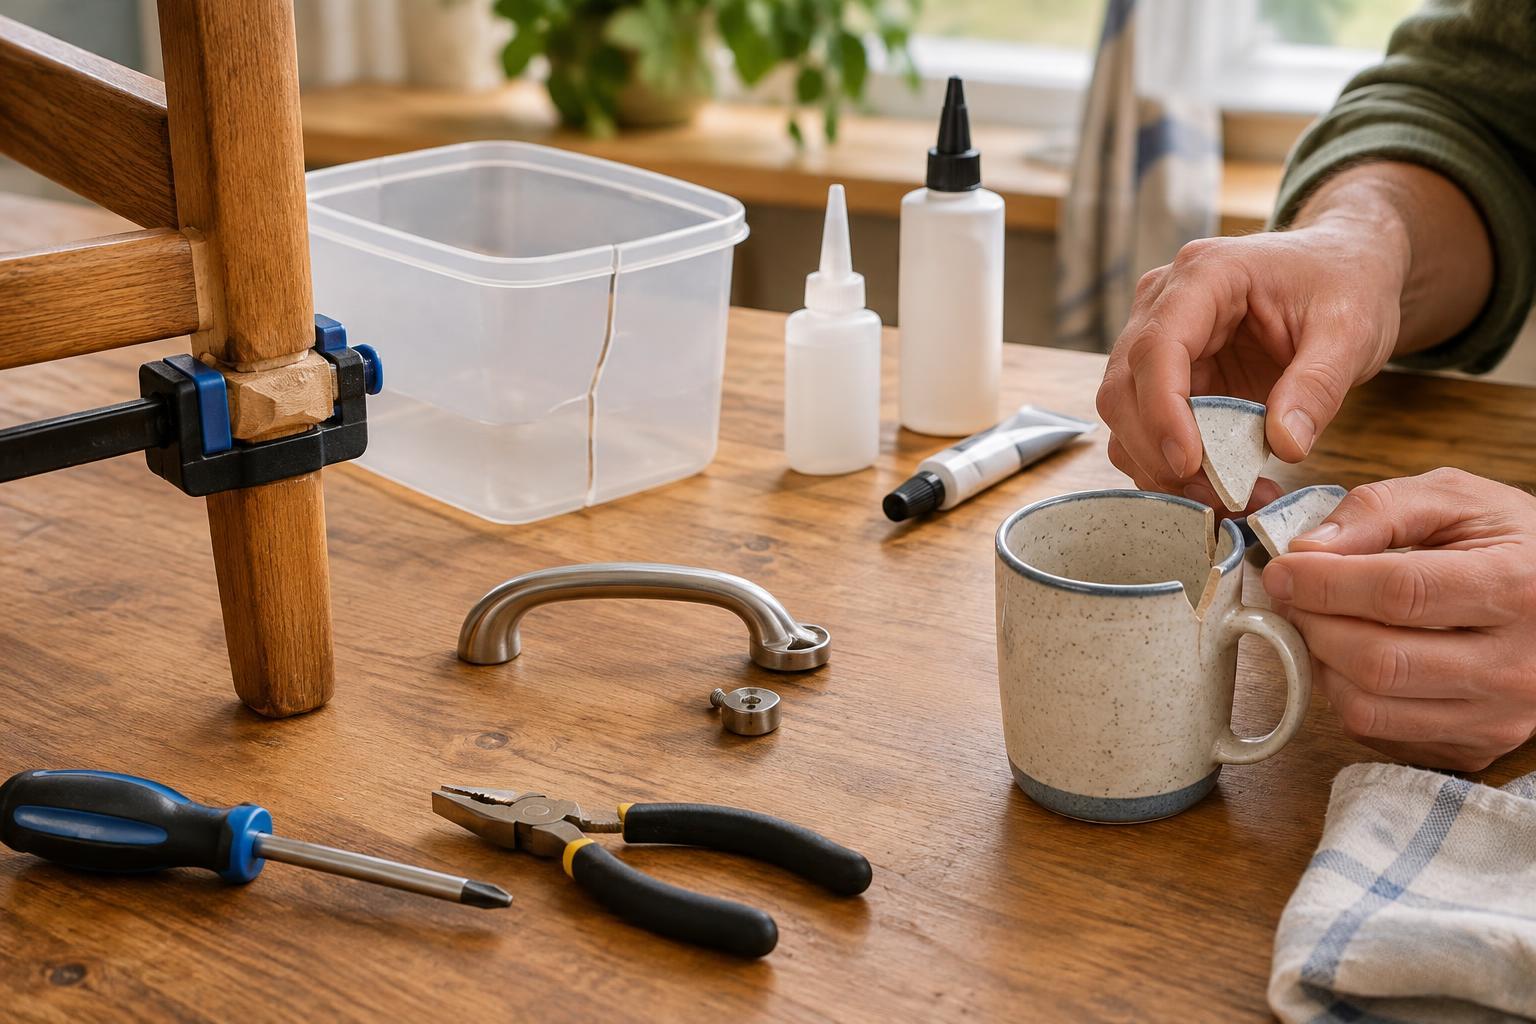
Ceramic breaks that fit neatly can often be repaired with cyanoacrylate, while epoxy may help with small gaps or missing chips. Keep fragments in order and check the fit before mixing or applying glue. Be cautious with mugs, plates, and cookware: an adhesive that holds a ceramic piece together is not necessarily suitable for food contact, hot liquids, dishwashers, or ovens. Unless the product specifically permits the intended use, treat a repaired piece as decorative.
Make the repair last—and keep the process manageable
Surface preparation and patience matter as much as adhesive choice. Work on dry surfaces unless the product says otherwise, and apply only the amount directed. Too much glue can prevent close contact, make a messy seam, or extend the time needed to cure. Hold the parts steady for the stated period, then wait for full cure before putting the item back into service. “Sets quickly” does not always mean “ready to use.”
Use adhesives in a ventilated space and follow the label’s precautions for skin contact and cleanup. Buy a quantity you can reasonably use, and store it as directed so it remains useful for the next repair. If a first attempt fails, remove loose adhesive and reconsider the material, joint fit, and stresses before trying again. The goal is not to save every object at any cost; it is to give repairable items a useful second life without creating an unsafe or short-lived fix.